Tags
Tags group data sources in Port, queries in Compass, and widgets in Cartography with colored labels. Once tags are assigned, they can be used as filters in each module's list screen; in large environments they help find the relevant items quickly.
Access
Click the Settings icon in the left menu → in the dialog that opens select the Tags tab.
What It's For
- Grouping — Mark items belonging to the same plant, line, or topic with a tag; apply the filter on the list screen to show only those.
- Visual identification — The color assigned to each tag appears as a dot on list cards and speeds up scanning.
- Cross-module consistency — The same tag is used across Port, Compass, and Cartography; a consistent classification scheme is established across modules.
Predefined System Tags
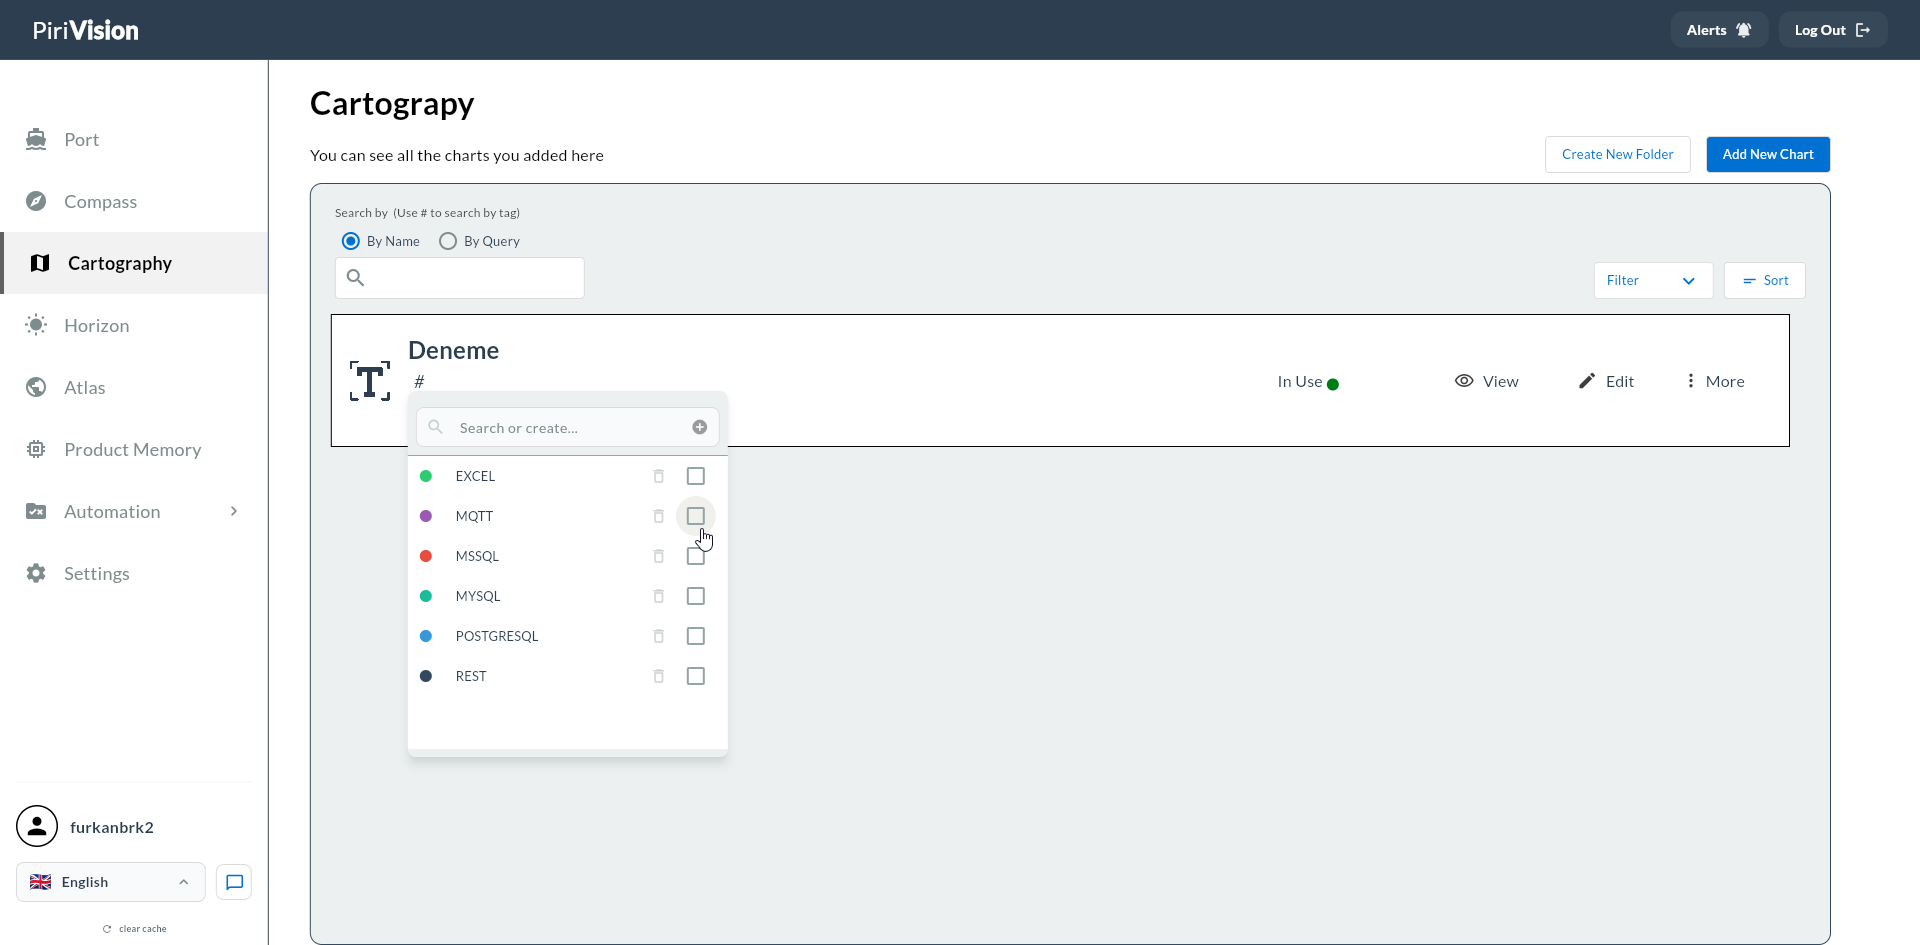
Pirivision automatically provides the following tags corresponding to data source types. These tags cannot be deleted; you can however create custom tags with the same name.
| Tag | Color | Purpose |
|---|---|---|
| EXCEL | Green | Marks Excel Offline data sources |
| MQTT | Purple | Marks MQTT broker connections |
| MSSQL | Red | Marks Microsoft SQL Server connections |
| MYSQL | Light Green (Teal) | Marks MySQL connections |
| POSTGRESQL | Blue | Marks PostgreSQL connections |
| REST | Navy | Marks REST API connections |

UI Field Reference
| Field / Control | Description |
|---|---|
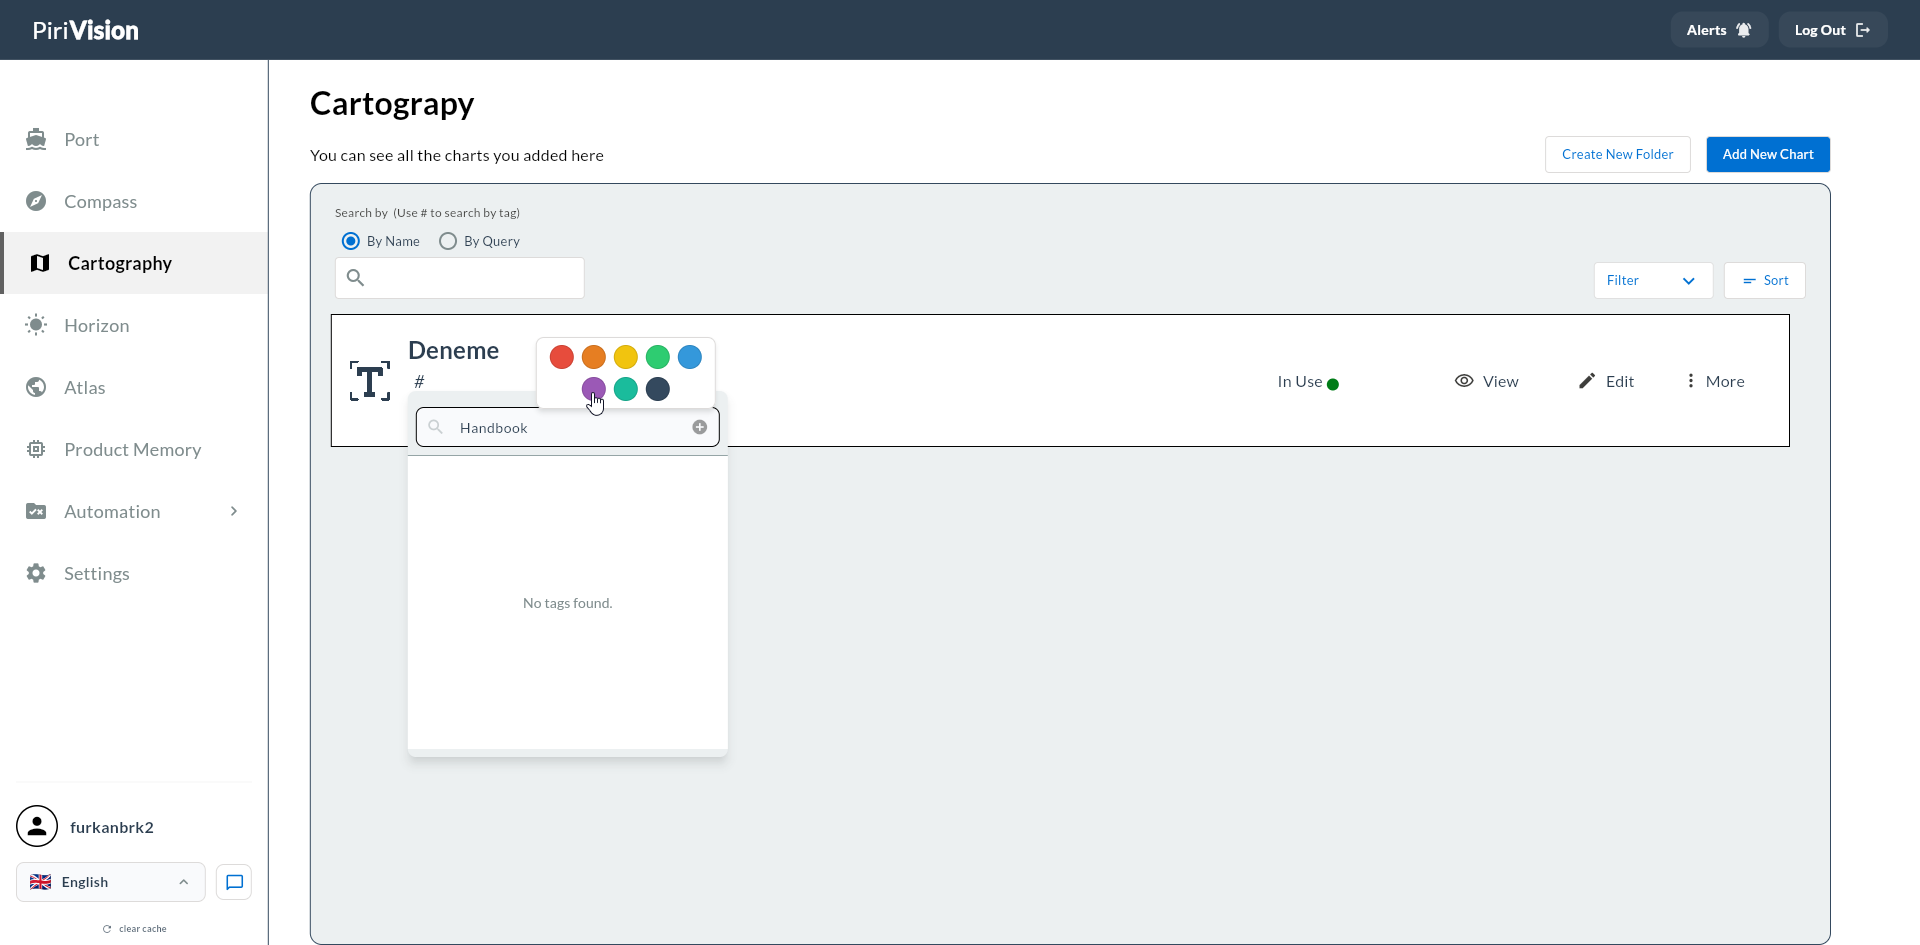
| Search or create... | Searches existing tags; if no match, suggests creating a new tag |
| + (top right) | Create a new tag |
| Color dot | The color assigned to the tag |
| Tag name | The text shown in the list and filter panel |
| Trash | Delete the tag |
Creating a New Tag
Method 1 — From the Search Box
- In the Tags tab, type the tag name in the Search or create... box.
- If no match is found, a "Create new: <name>" option appears — click it.
- Assign a color from the color picker.
- Click Save.
Method 2 — + Button
-
In the Tags tab click the + button at the top right.
-
Fill in the Tag Name field.
- Pick a color from the color picker.
- Click Save.
Tag Search
The search box applies an instant filter — as you type, matching tags are shown. It is case-insensitive.
Tag Deletion
- Click the trash icon at the end of the row of the tag you want to delete.
- If a confirmation appears, click Confirm.
Deletion and Existing Assignments
A deleted tag is automatically removed from all data sources, queries, and widgets it is assigned to. The action cannot be undone.
Tag Assignment
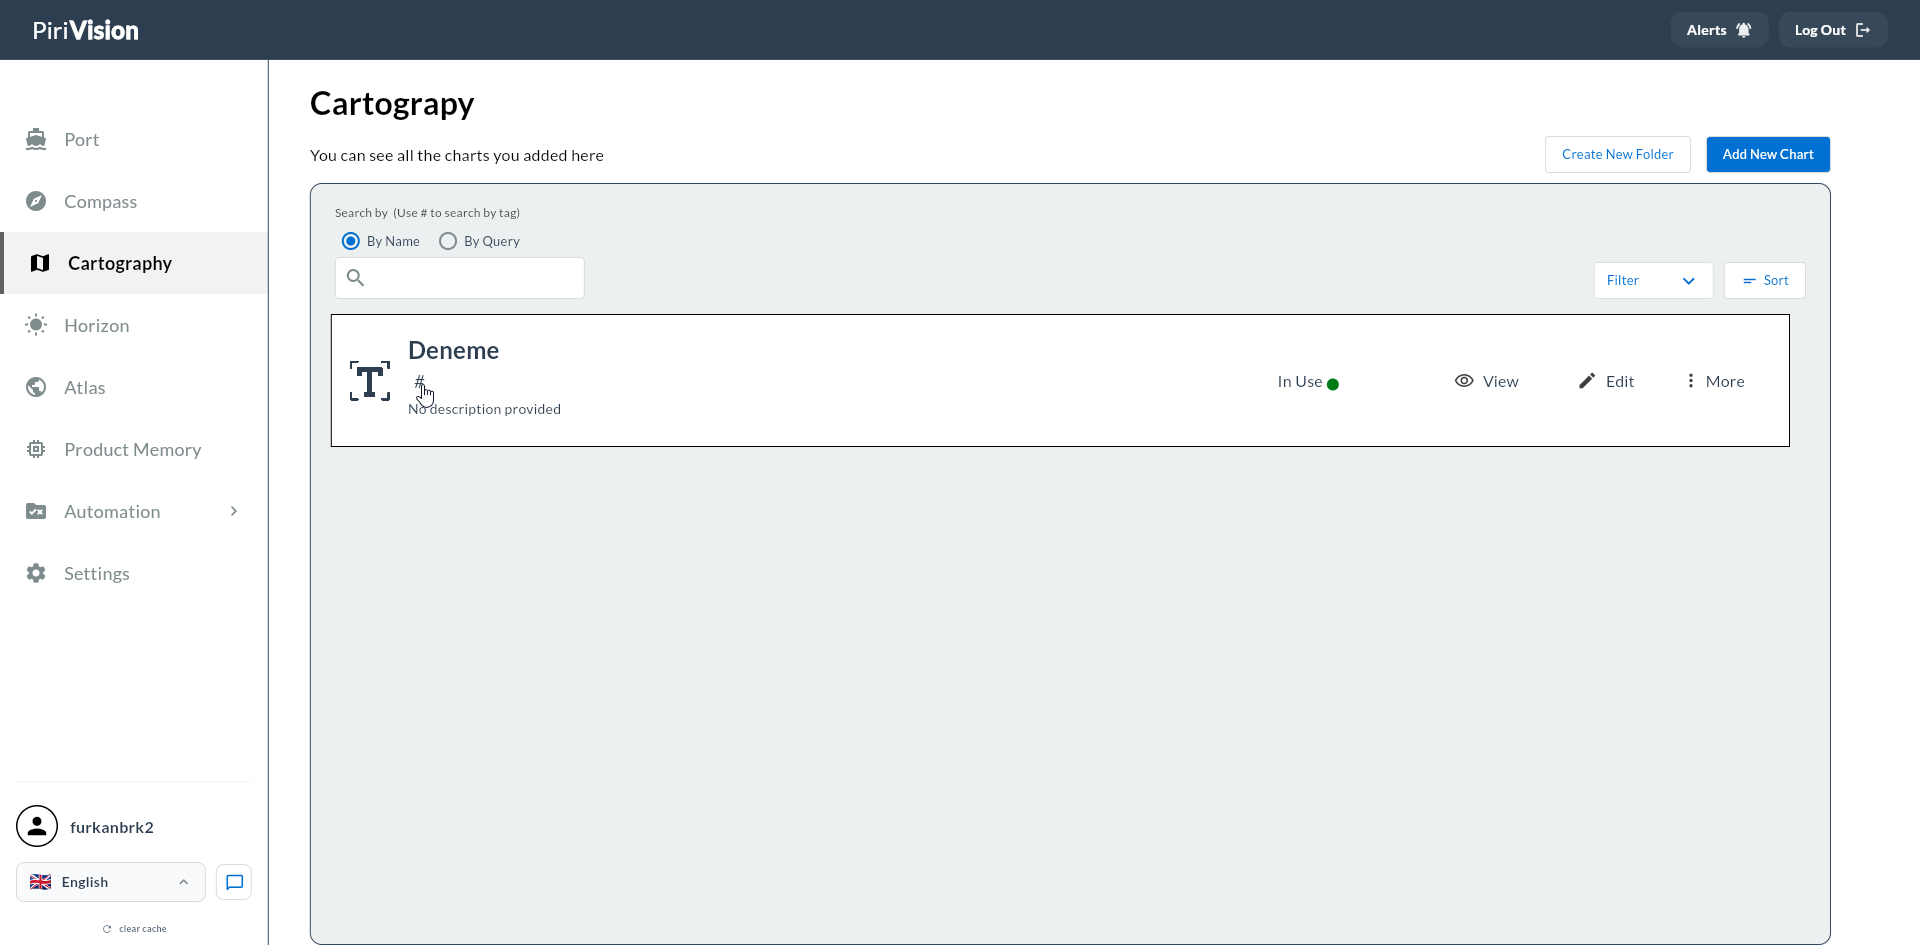
Tag assignment happens directly from the list card via the # icon (available in Port, Compass, and Cartography list views):
-
Click the # icon on a list card.
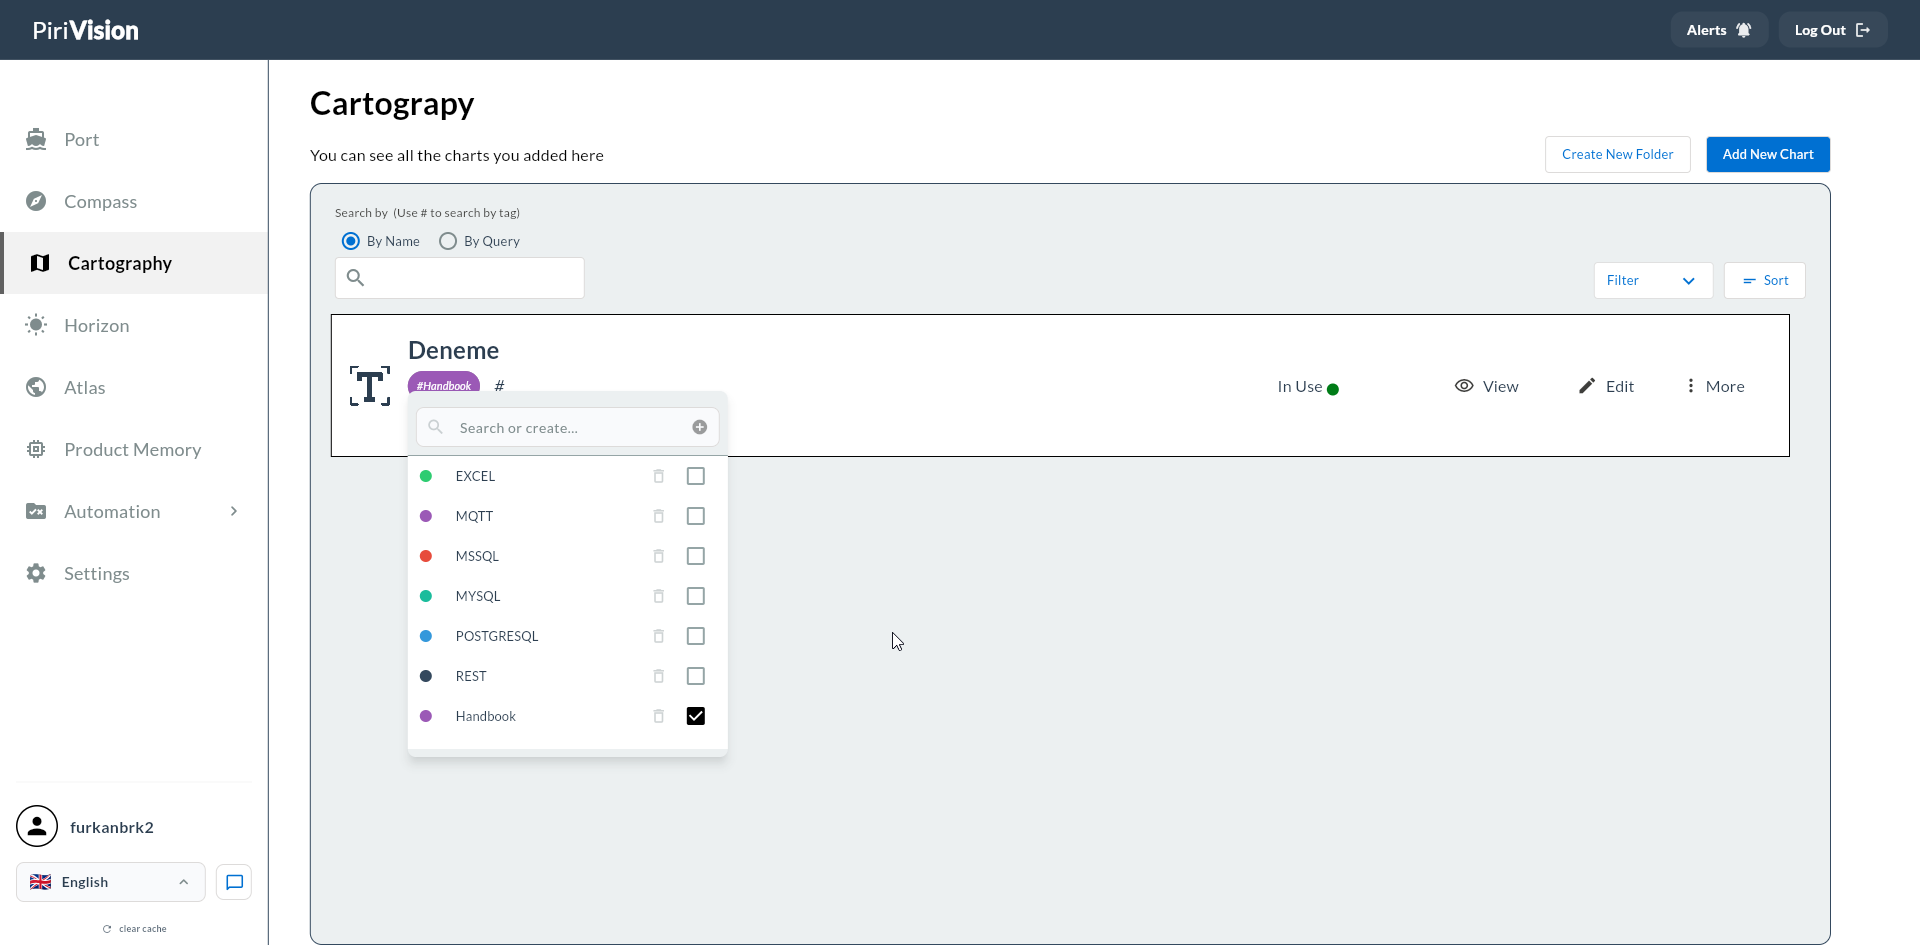
-
A dropdown opens showing system and custom tags — check any to assign.
-
Type in the search box to filter tags or create a new one.
-
The selected tag appears on the card header; check the box to confirm.
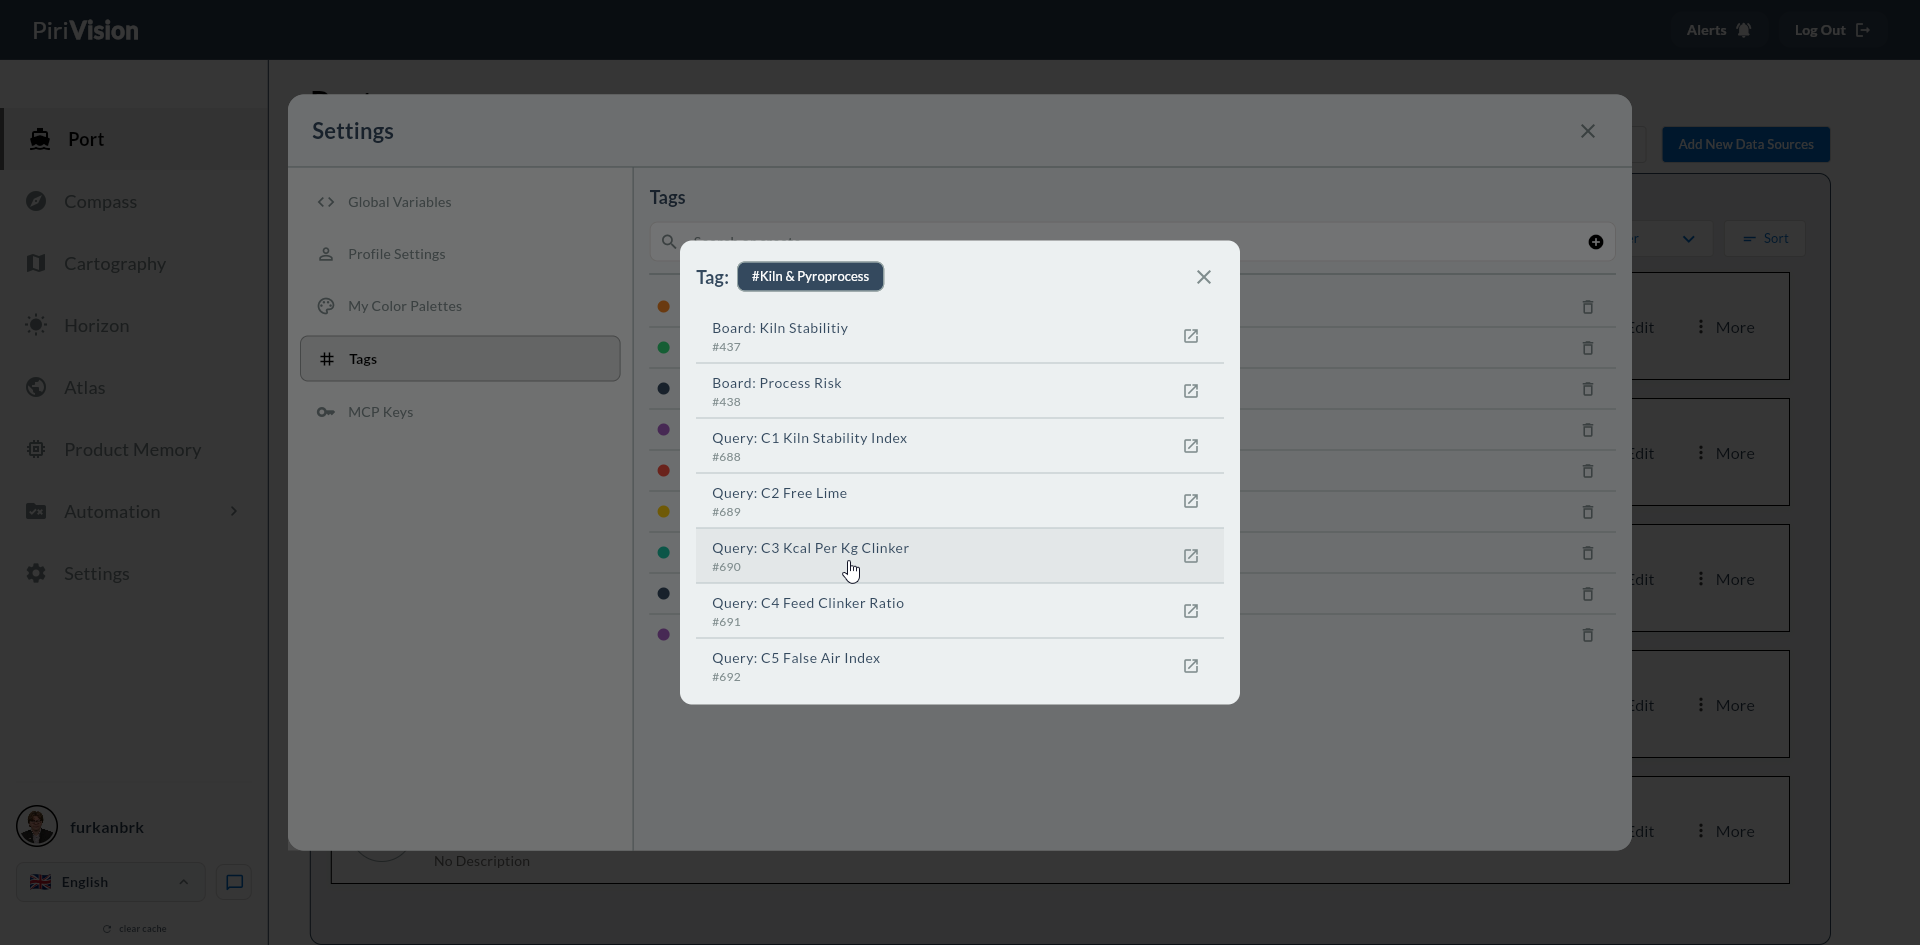
Clicking a tag name in the Tags settings tab shows all Boards and Queries linked to it:
Filtering by Tag
Each module's list screen has a Tag filter:
- Open the Filter / Sort area on the list.
- Pick the tag(s) to apply.
- Only items with the selected tag are shown.
When multiple tags are selected, OR logic (at least one match) is applied.
Limitations and Notes
| Topic | Description |
|---|---|
| Scope | Tags are visible to all users and shared; they are not per-user. |
| Predefined tags | EXCEL, MQTT, MSSQL, MYSQL, POSTGRESQL, REST tags cannot be deleted. |
| Name uniqueness | Two tags cannot share the same name (case-insensitive comparison). |
| Color requirement | Each tag must have a color; you cannot create a colorless tag. |
| Filter logic | Multi-tag selection applies OR, not AND. |
Next Step
→ Global Variables → My Color Palettes → Port — Data Sources