Edit MQTT Data Source
This page explains updating a previously added MQTT data source in the Pirivision Port module via the Edit action.
Use this flow when the MQTT broker address or port changes, when the protocol is updated (e.g. from ws to tcp), when credentials change, or when you want to move the data source to a different folder.
Prerequisite
At least one MQTT data source must be saved in the Port list. If none, see Add MQTT Data Source first.
1. Find the Data Source in the Port List
Click Port in the left menu. Find the MQTT data source you want to edit in the list.
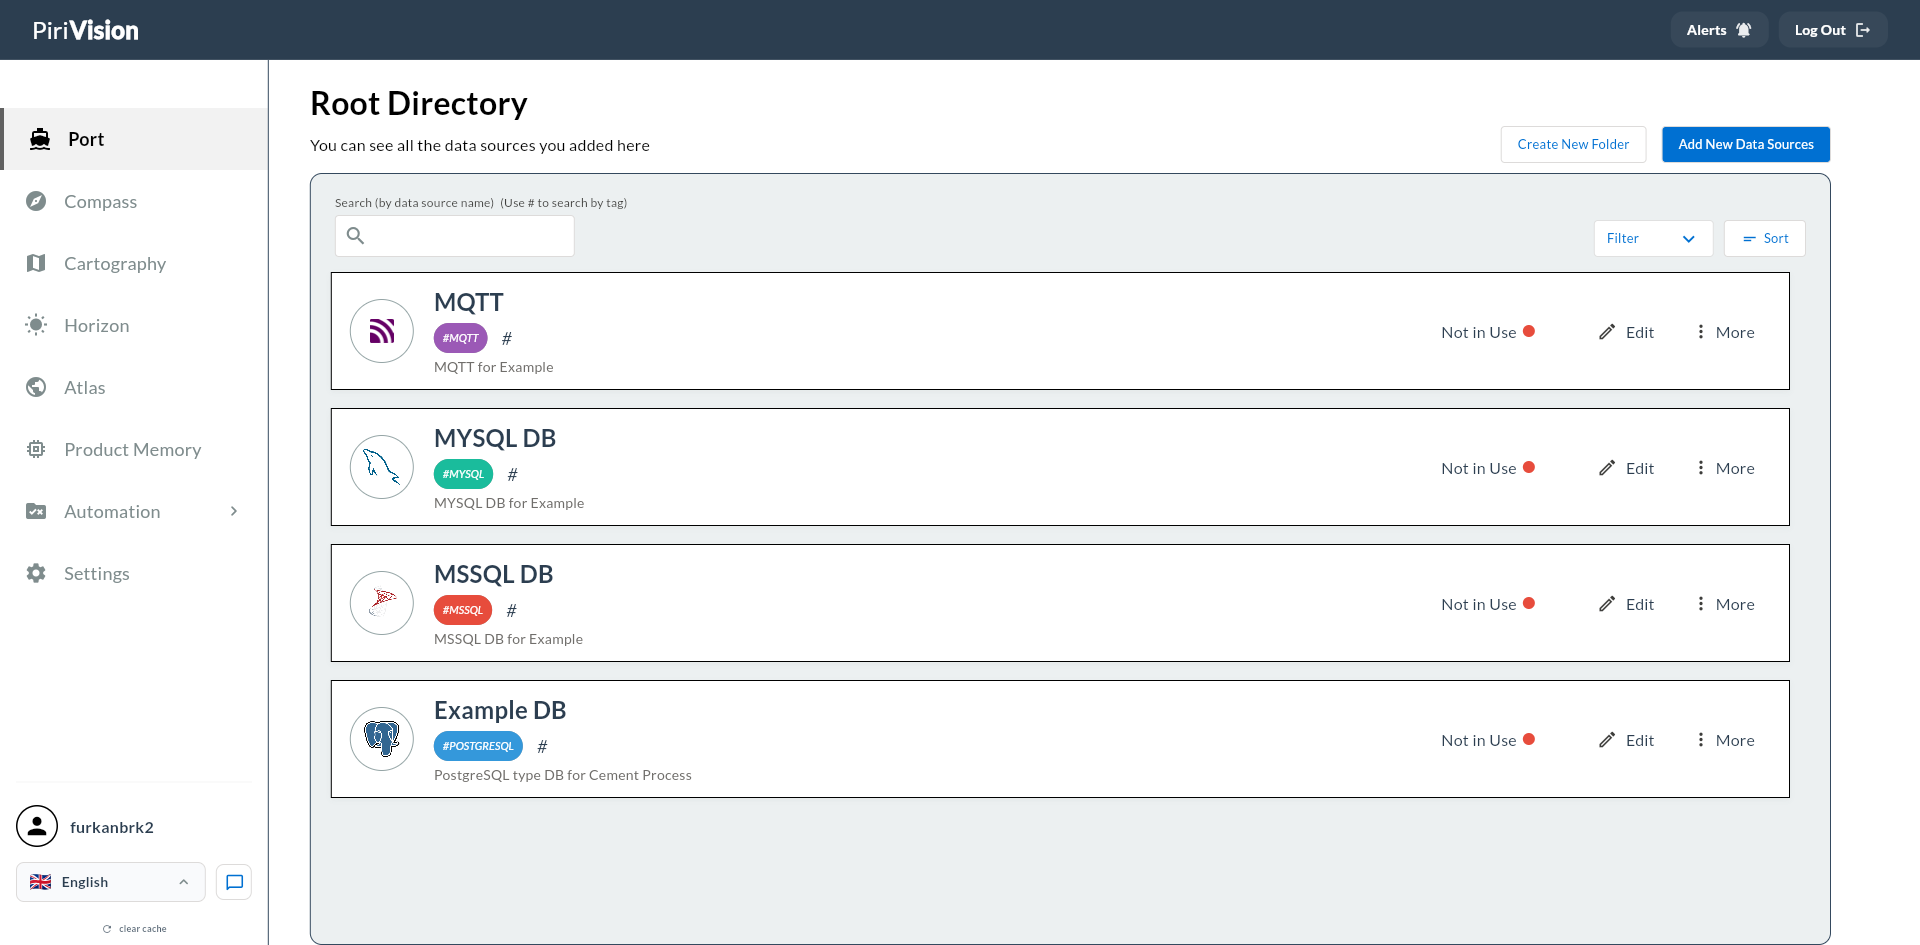
You can use the search bar in the list to filter by data source name or by #tag.
2. Click the Edit Button
The Edit button (pencil icon) is on the right side of the data source card.
Click the Edit button.
Tip
The Edit button appears directly on the card. Access via the More menu is not required.
3. The Edit Form Opens
When Edit is clicked, the form opens with current values pre-filled. This is the same screen as the new MQTT data source form; the only differences are the pre-filled values and the Update button at the bottom.
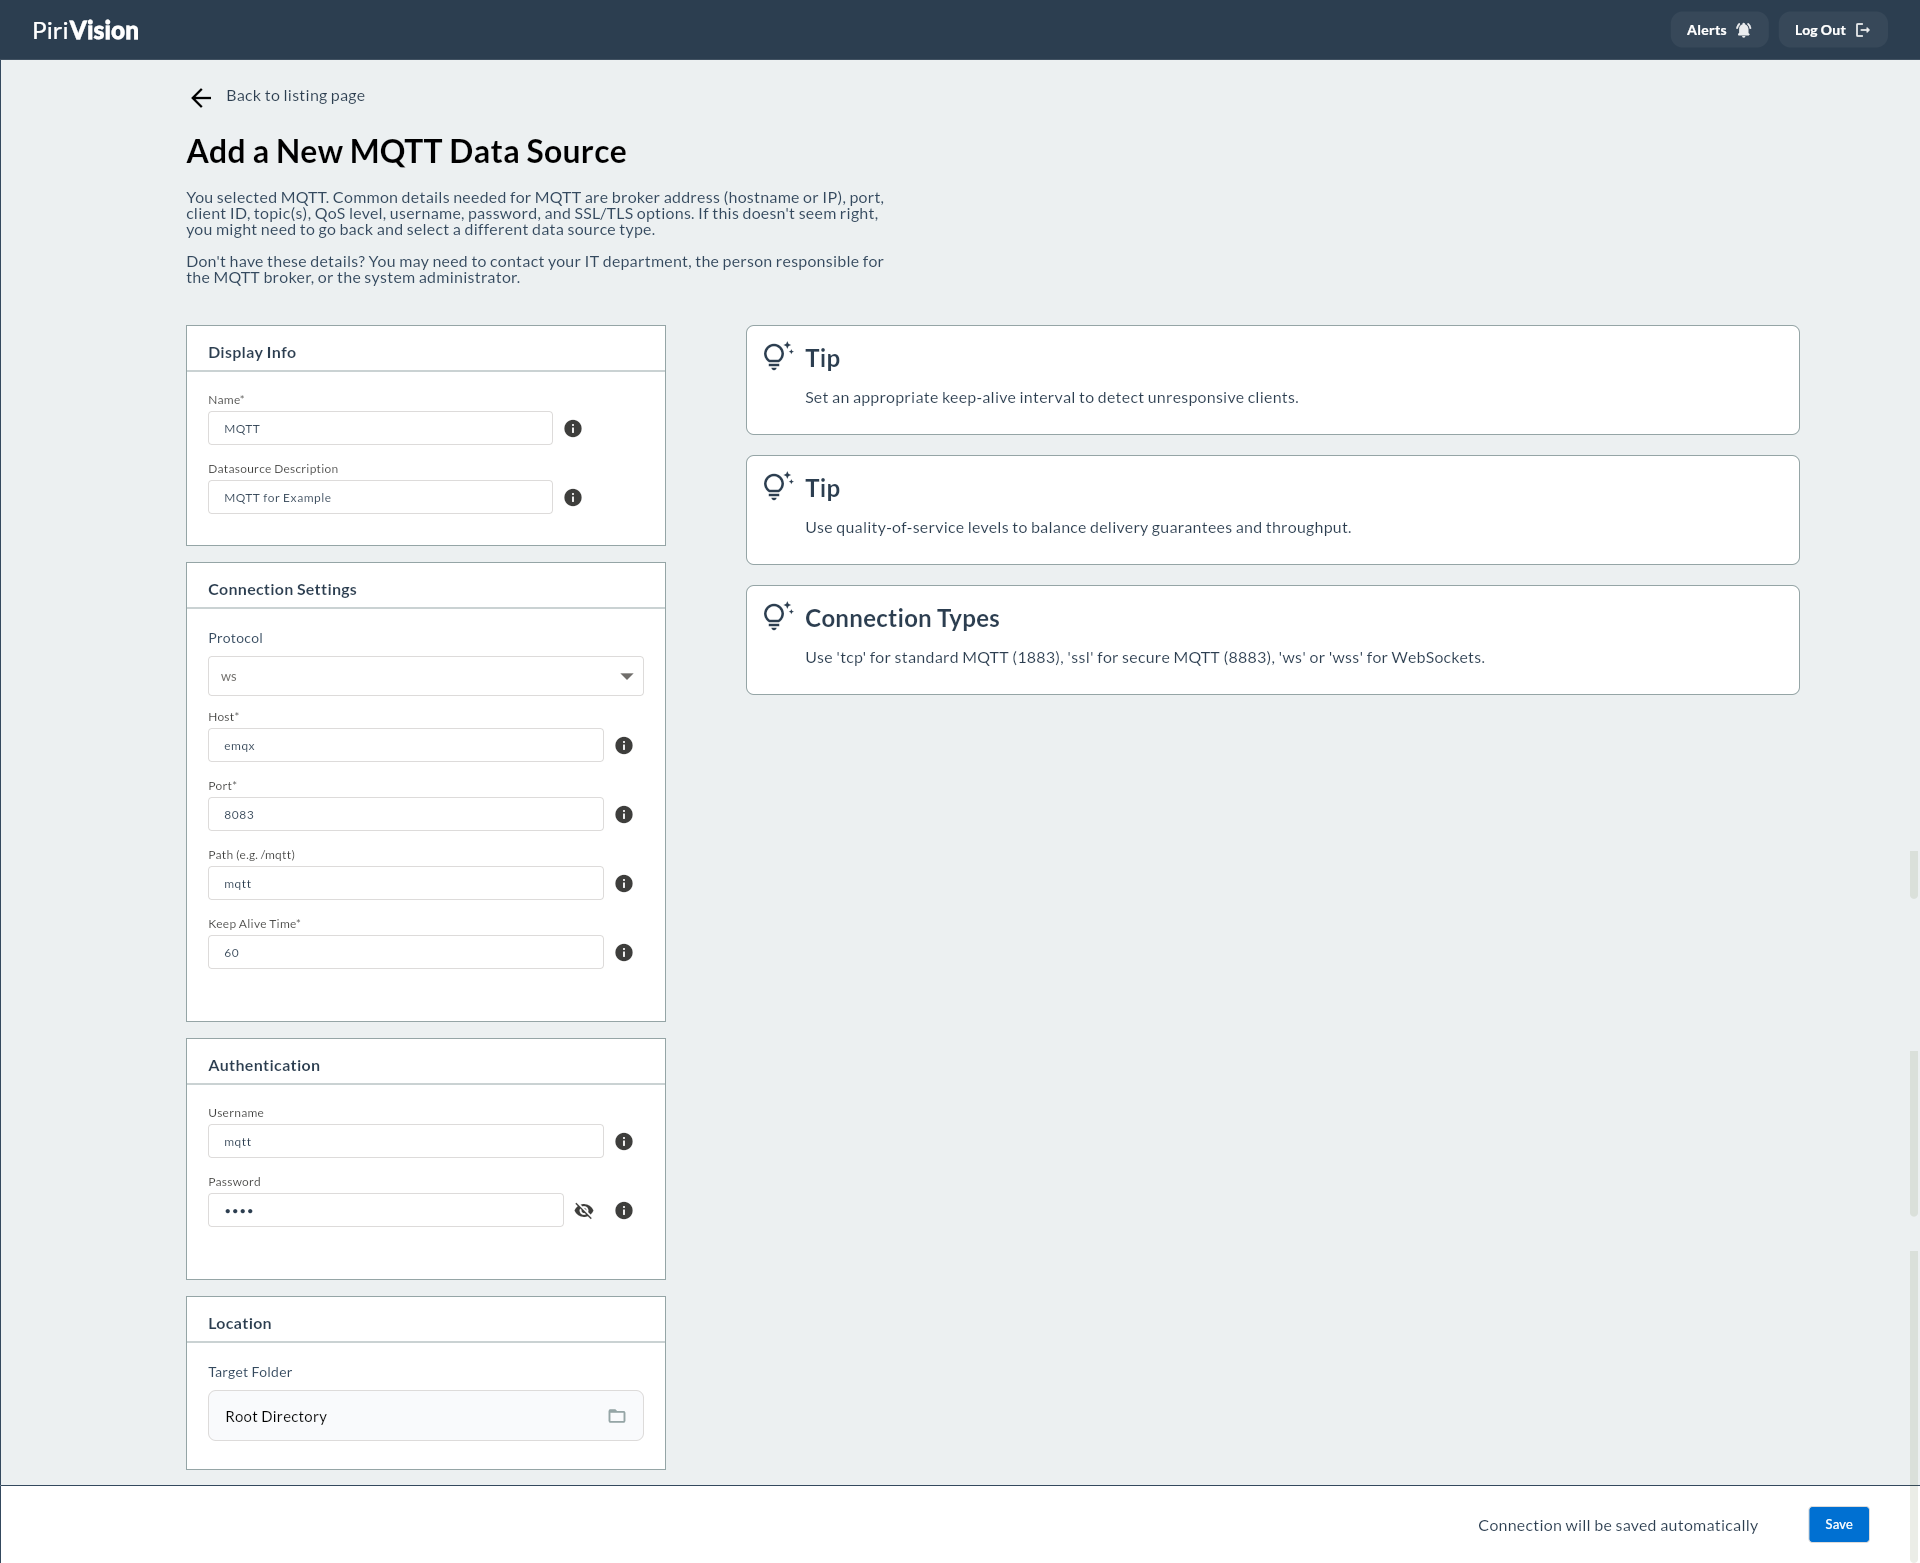
4. Editable Fields
The following fields can be edited:
| Section | Field | Required | Default | Description |
|---|---|---|---|---|
| Display Info | Name | Yes | — | The display name of the data source within Pirivision |
| Display Info | Description | No | — | Short description text |
| Connection Settings | Protocol | Yes | ws |
Connection protocol (ws, wss, tcp, ssl) |
| Connection Settings | Host | Yes | — | IP address or hostname of the MQTT broker |
| Connection Settings | Port | Yes | 8083 |
Port the broker is listening on |
| Connection Settings | Path | No | /mqtt |
WebSocket path (for ws/wss) |
| Connection Settings | Keep Alive Time | Yes | 60 |
Keep-alive ping interval (seconds) |
| Authentication | Username | No | — | MQTT broker username |
| Authentication | Password | No | — | Broker authentication password |
| Location | Target Folder | No | — | Location of the data source in the Port folder structure |
Non-Editable Field
| Field | Status |
|---|---|
| Data source type | Stays fixed as MQTT; cannot be converted to SQL or REST API types. |
5. Update Button
After all fields are updated, click the Update button at the bottom right.
No Connection Test
Unlike SQL data sources, MQTT data source editing does not perform an instant connection test. The Update button saves directly. Connection status can be verified per topic in the Compass module.
The bottom of the form shows:
Success
Once Update completes, the updated MQTT connection parameters are saved. Verify in Compass that topic queries using this data source are still reachable.
Failure
If the broker becomes unreachable after the update, check Host, Port, Protocol, and credential information.
6. Common Errors
| Error / Symptom | Possible Cause | Solution |
|---|---|---|
a datasource with this name already exists, please choose a different name |
Another data source already uses the same name | Enter a different Name value |
you do not have permission to update this datasource or the datasource was not found |
The data source belongs to another user or was deleted | Refresh the Port list |
user not found |
Session expired | Log in again |
| Saved but cannot connect to broker | Host/Port/Protocol updated incorrectly | Test the connection with a topic query in Compass |
| WebSocket connection cannot be established | Wrong Protocol or Path | When ws/wss is selected, verify Path is /mqtt |
| Authentication failed | Username/Password updated but broker rejects them | Verify credentials on the broker side |
7. Next Step
After the MQTT data source is updated, verify in Compass that topic queries using this source still work.
flowchart LR
    A["Port<br/>MQTT Edited"] --> B["Compass<br/>Topic Query Verification"]
    B --> C["Cartography<br/>Chart / KPI (no changes)"]
Summary
The MQTT data source editing process:
- Open the Port module.
- Find the MQTT data source in the list.
- Click Edit on the card.
- The form opens pre-filled with current values.
- Update the relevant fields (Protocol, Host, Port, Path, Keep Alive, Auth).
- Save changes with Update.
- Verify the topic query in Compass.